

Tools needed for hand engraving.
Gravers
Originally, handpieces varied little in design as the common use was to push with the handle placed firmly in the center of the palm. With modern pneumatic engraving systems, handpieces are designed and created in a variety of shapes and power ranges. Handpieces are made using various methods and materials. Knobs may be handmade from wood, molded and engineered from plastic, or machine-made from brass, steel, or other metals.

Graver tools in hss steel for handpush engraving.
Gravers come in a variety of shapes and sizes that yield different line types. The burin produces a unique and recognizable quality of line that is characterized by its steady, deliberate appearance and clean edges. The angle tint tool has a slightly curved tip that is commonly used in printmaking. Florentine liners are flat-bottomed tools with multiple lines incised into them, used to do fill work on larger areas or to create uniform shade lines that are fast to execute. Ring gravers are made with particular shapes that are used by jewelry engravers in order to cut inscriptions inside rings. Flat gravers are used for fill work on letters, as well as "wriggle" cuts on most musical instrument engraving work, remove background, or create bright cuts. Knife gravers are for line engraving and very deep cuts. Round gravers, and flat gravers with a radius, are commonly used on silver to create bright cuts (also called bright-cut engraving), as well as other hard-to-cut metals such as nickel and steel. Square or V-point gravers are typically square or elongated diamond-shaped and used for cutting straight lines. V-point can be anywhere from 60 to 130 degrees, depending on purpose and effect. These gravers have very small cutting points. Other tools such as mezzotint rockers, roulets and burnishers are used for texturing effects. Burnishing tools can also be used for certain stone setting techniques.
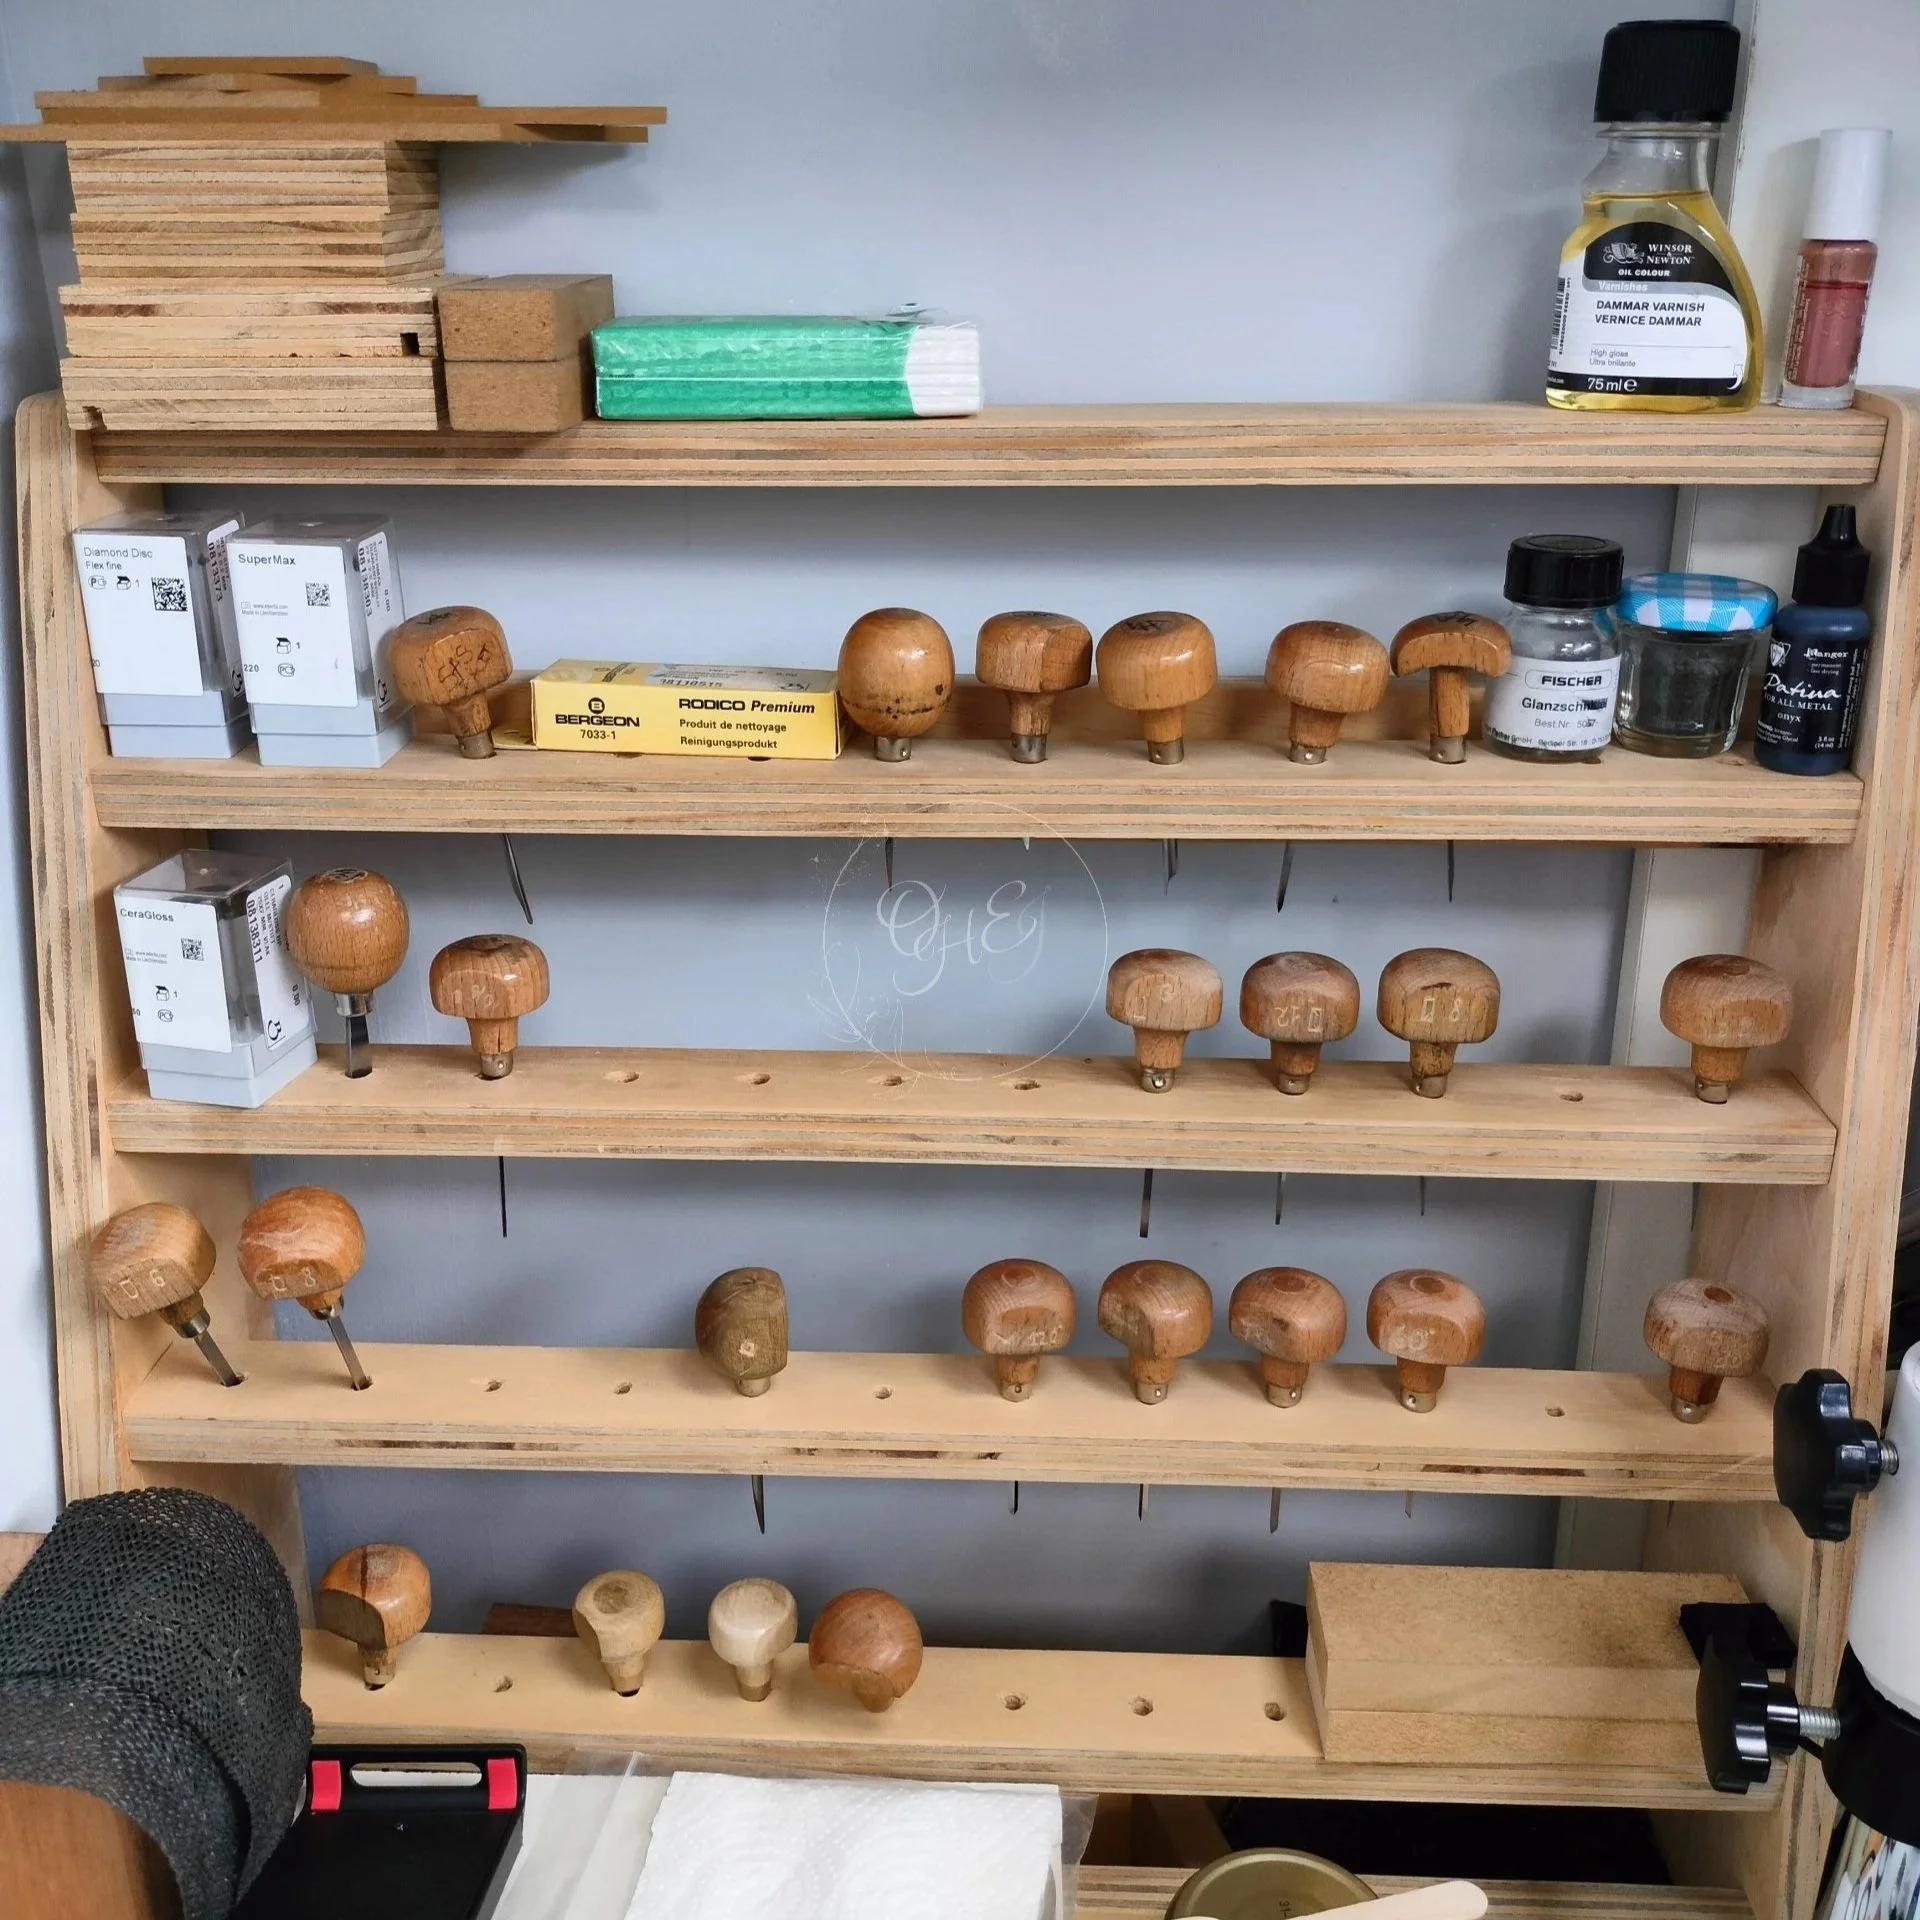
My set of handpush gravers today, a series of burins, 90degrees in hss and glensteel, and wider or narroworer shapes: 120, 75, 60, 45 degrees, flat gravers from wide to very narrow, onglette engravers, bol bravers, and som line engravers. My firsts and basic gravers are hss gravers, they are more budget friendly as a sterter. Many of my engravers now are from glensteel, because they give a super shine to any metal, and they last sharp for a long using time. At the left you see some sharpening tools - sharpening stones for flexshaft - (stored in a box).
Tool geometry
Tool geometry is extremely important for accuracy in hand engraving. When sharpened for most applications, a graver has a "face", which is the top of the graver, and a "heel", which is the bottom of the graver; not all tools or application require a heel. These two surfaces meet to form a point that cuts the metal. The geometry and length of the heel helps to guide the graver smoothly as it cuts the surface of the metal. When the tool's point breaks or chips, even on a microscopic level, the graver can become hard to control and produces unexpected results. Modern innovations have brought about new types of carbide that resist chipping and breakage, which hold a very sharp point longer between resharpening than traditional metal tools.
Workholding
For a piece to be engraved , the engraver needs tools to hold the items sturdy/firmly.
Tools like a sandbag/sandpillow, a stick with a mix of settingwax are basic tools. A ballvise is a better advanced tool, to give more comfort to the engraver.
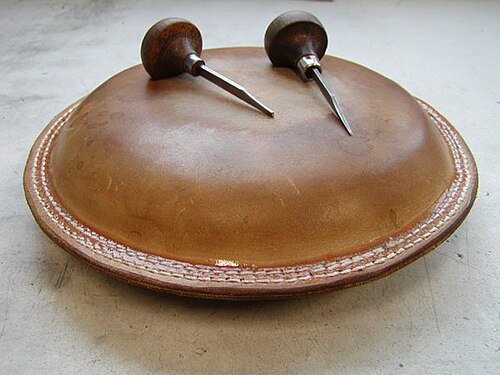
A sandbag and the 2 most used hss gravers to start learning hand engraving, a burin and flatgraver.
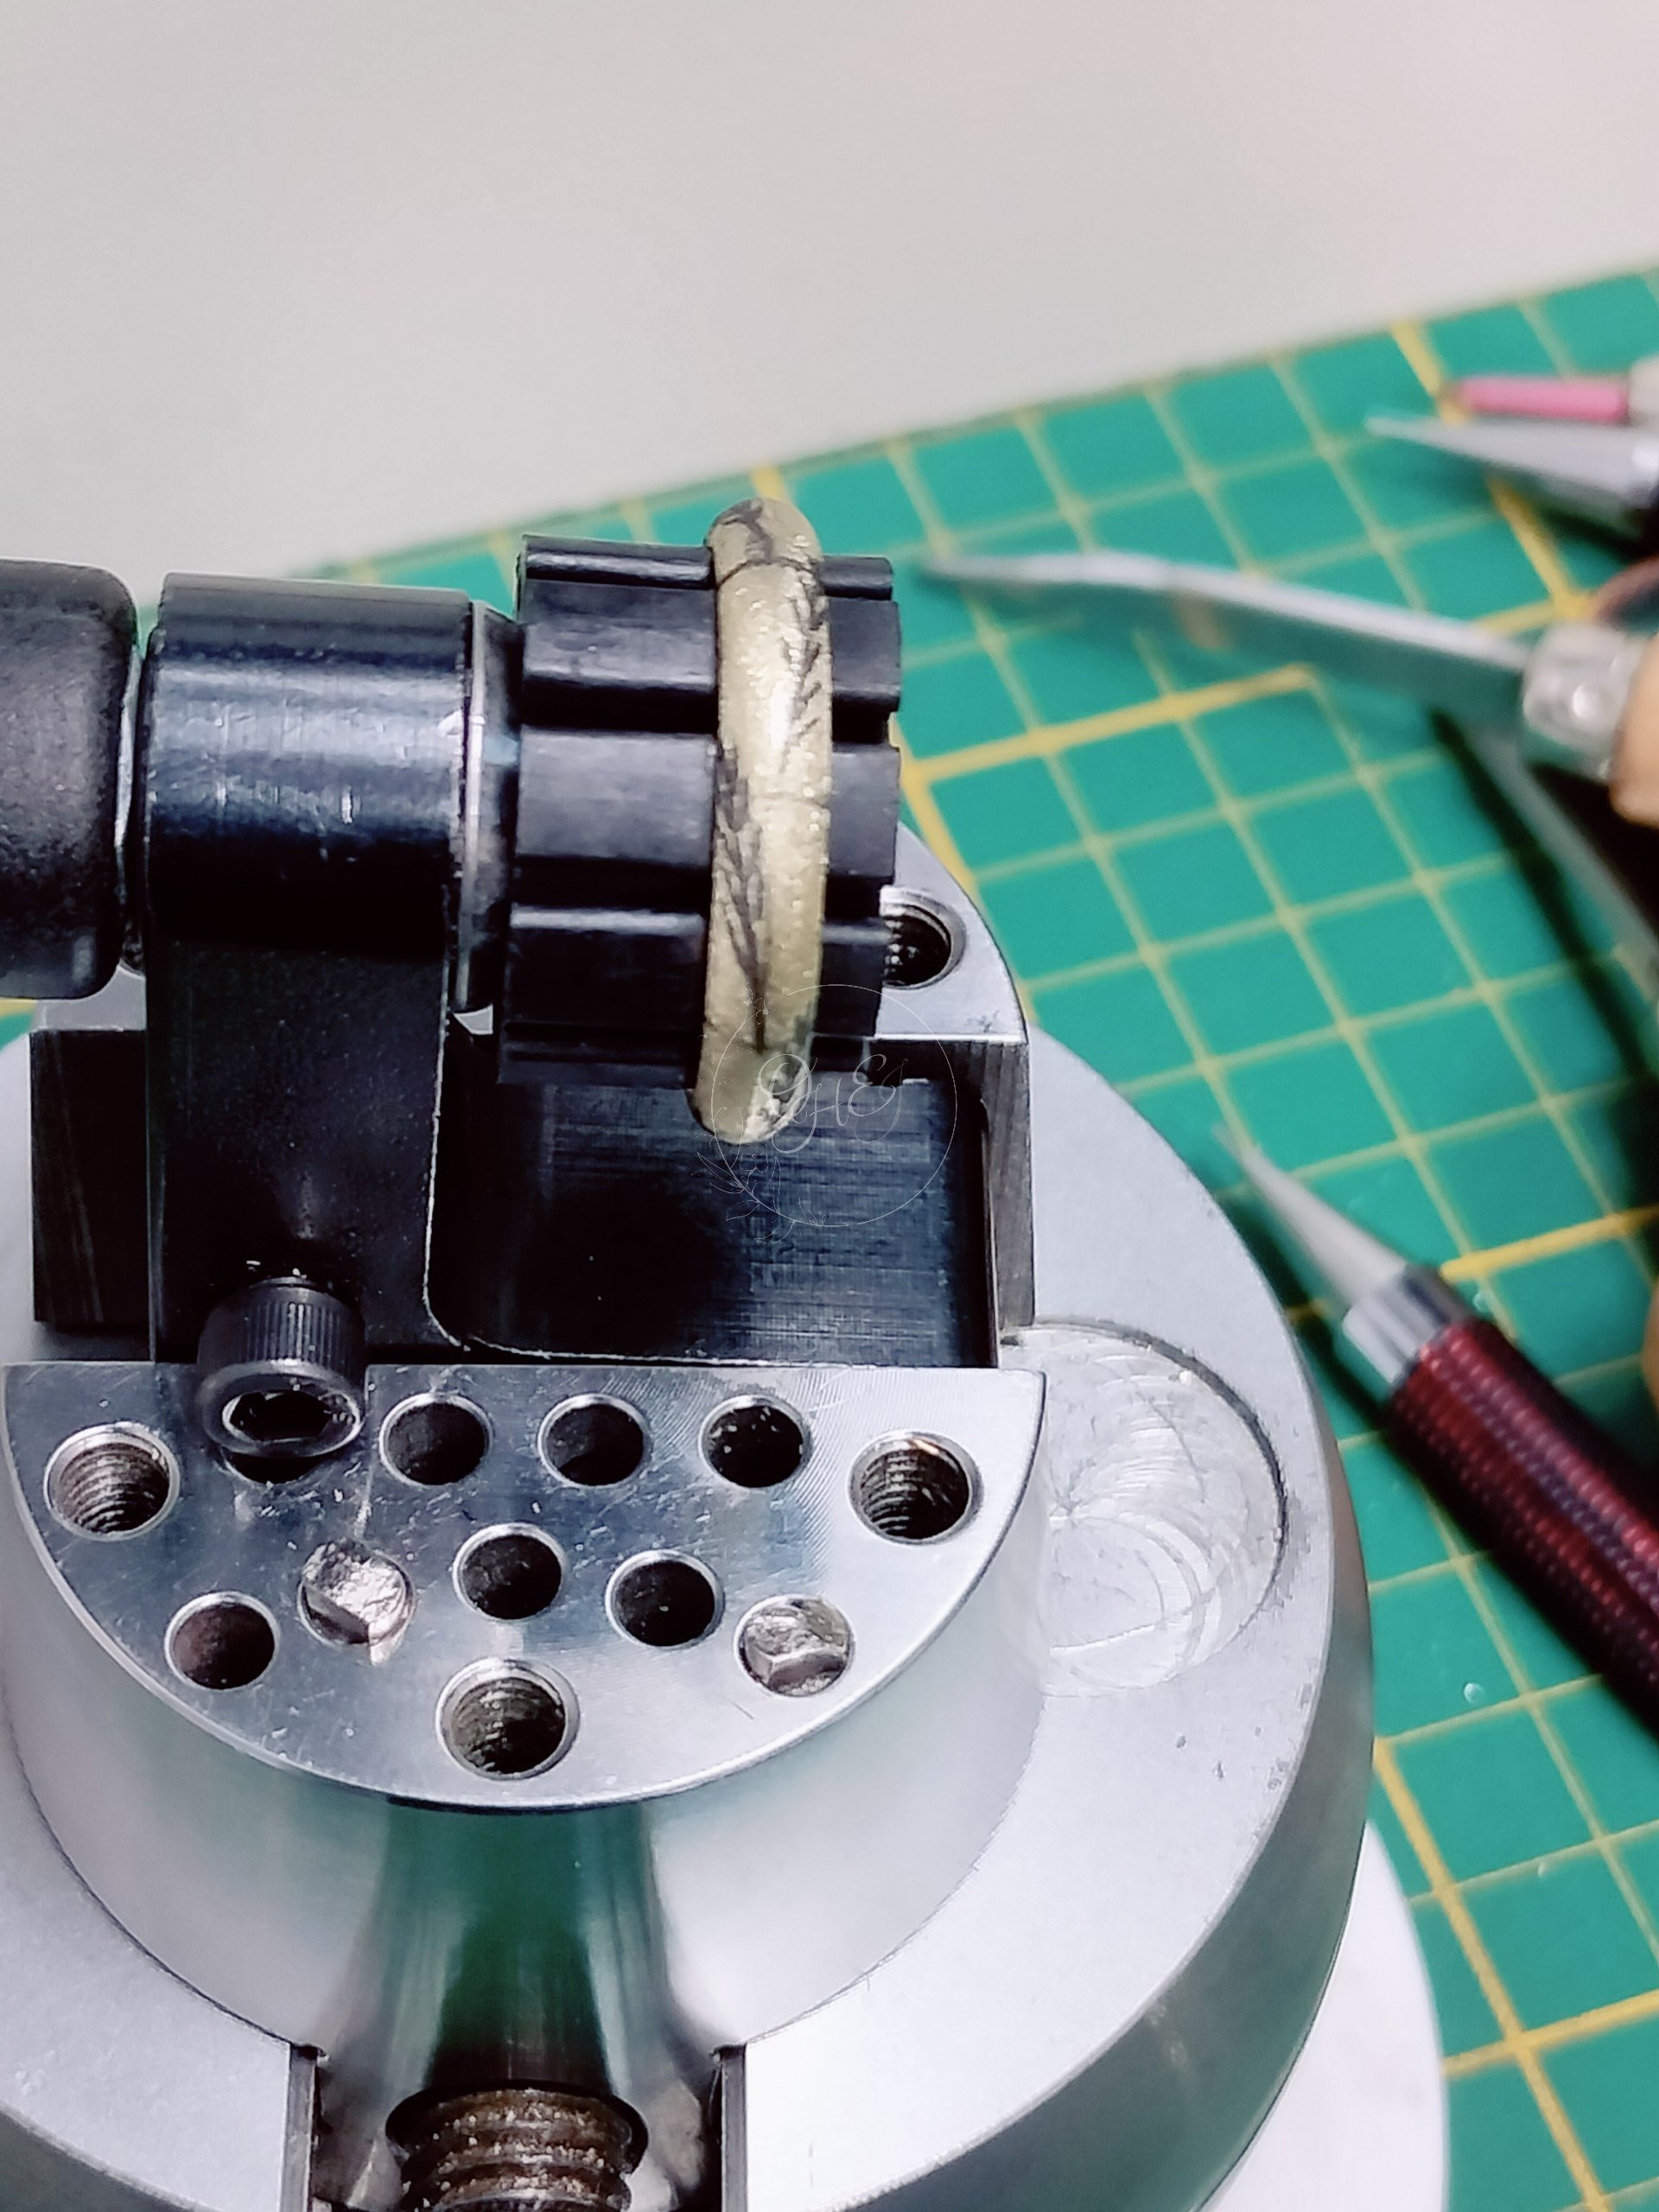
My ball vise with a ring stand to clamp the ring from the inside.
For beter gravercontrol and for engraving hard metals like steel, there are pneumatic engraving systems.
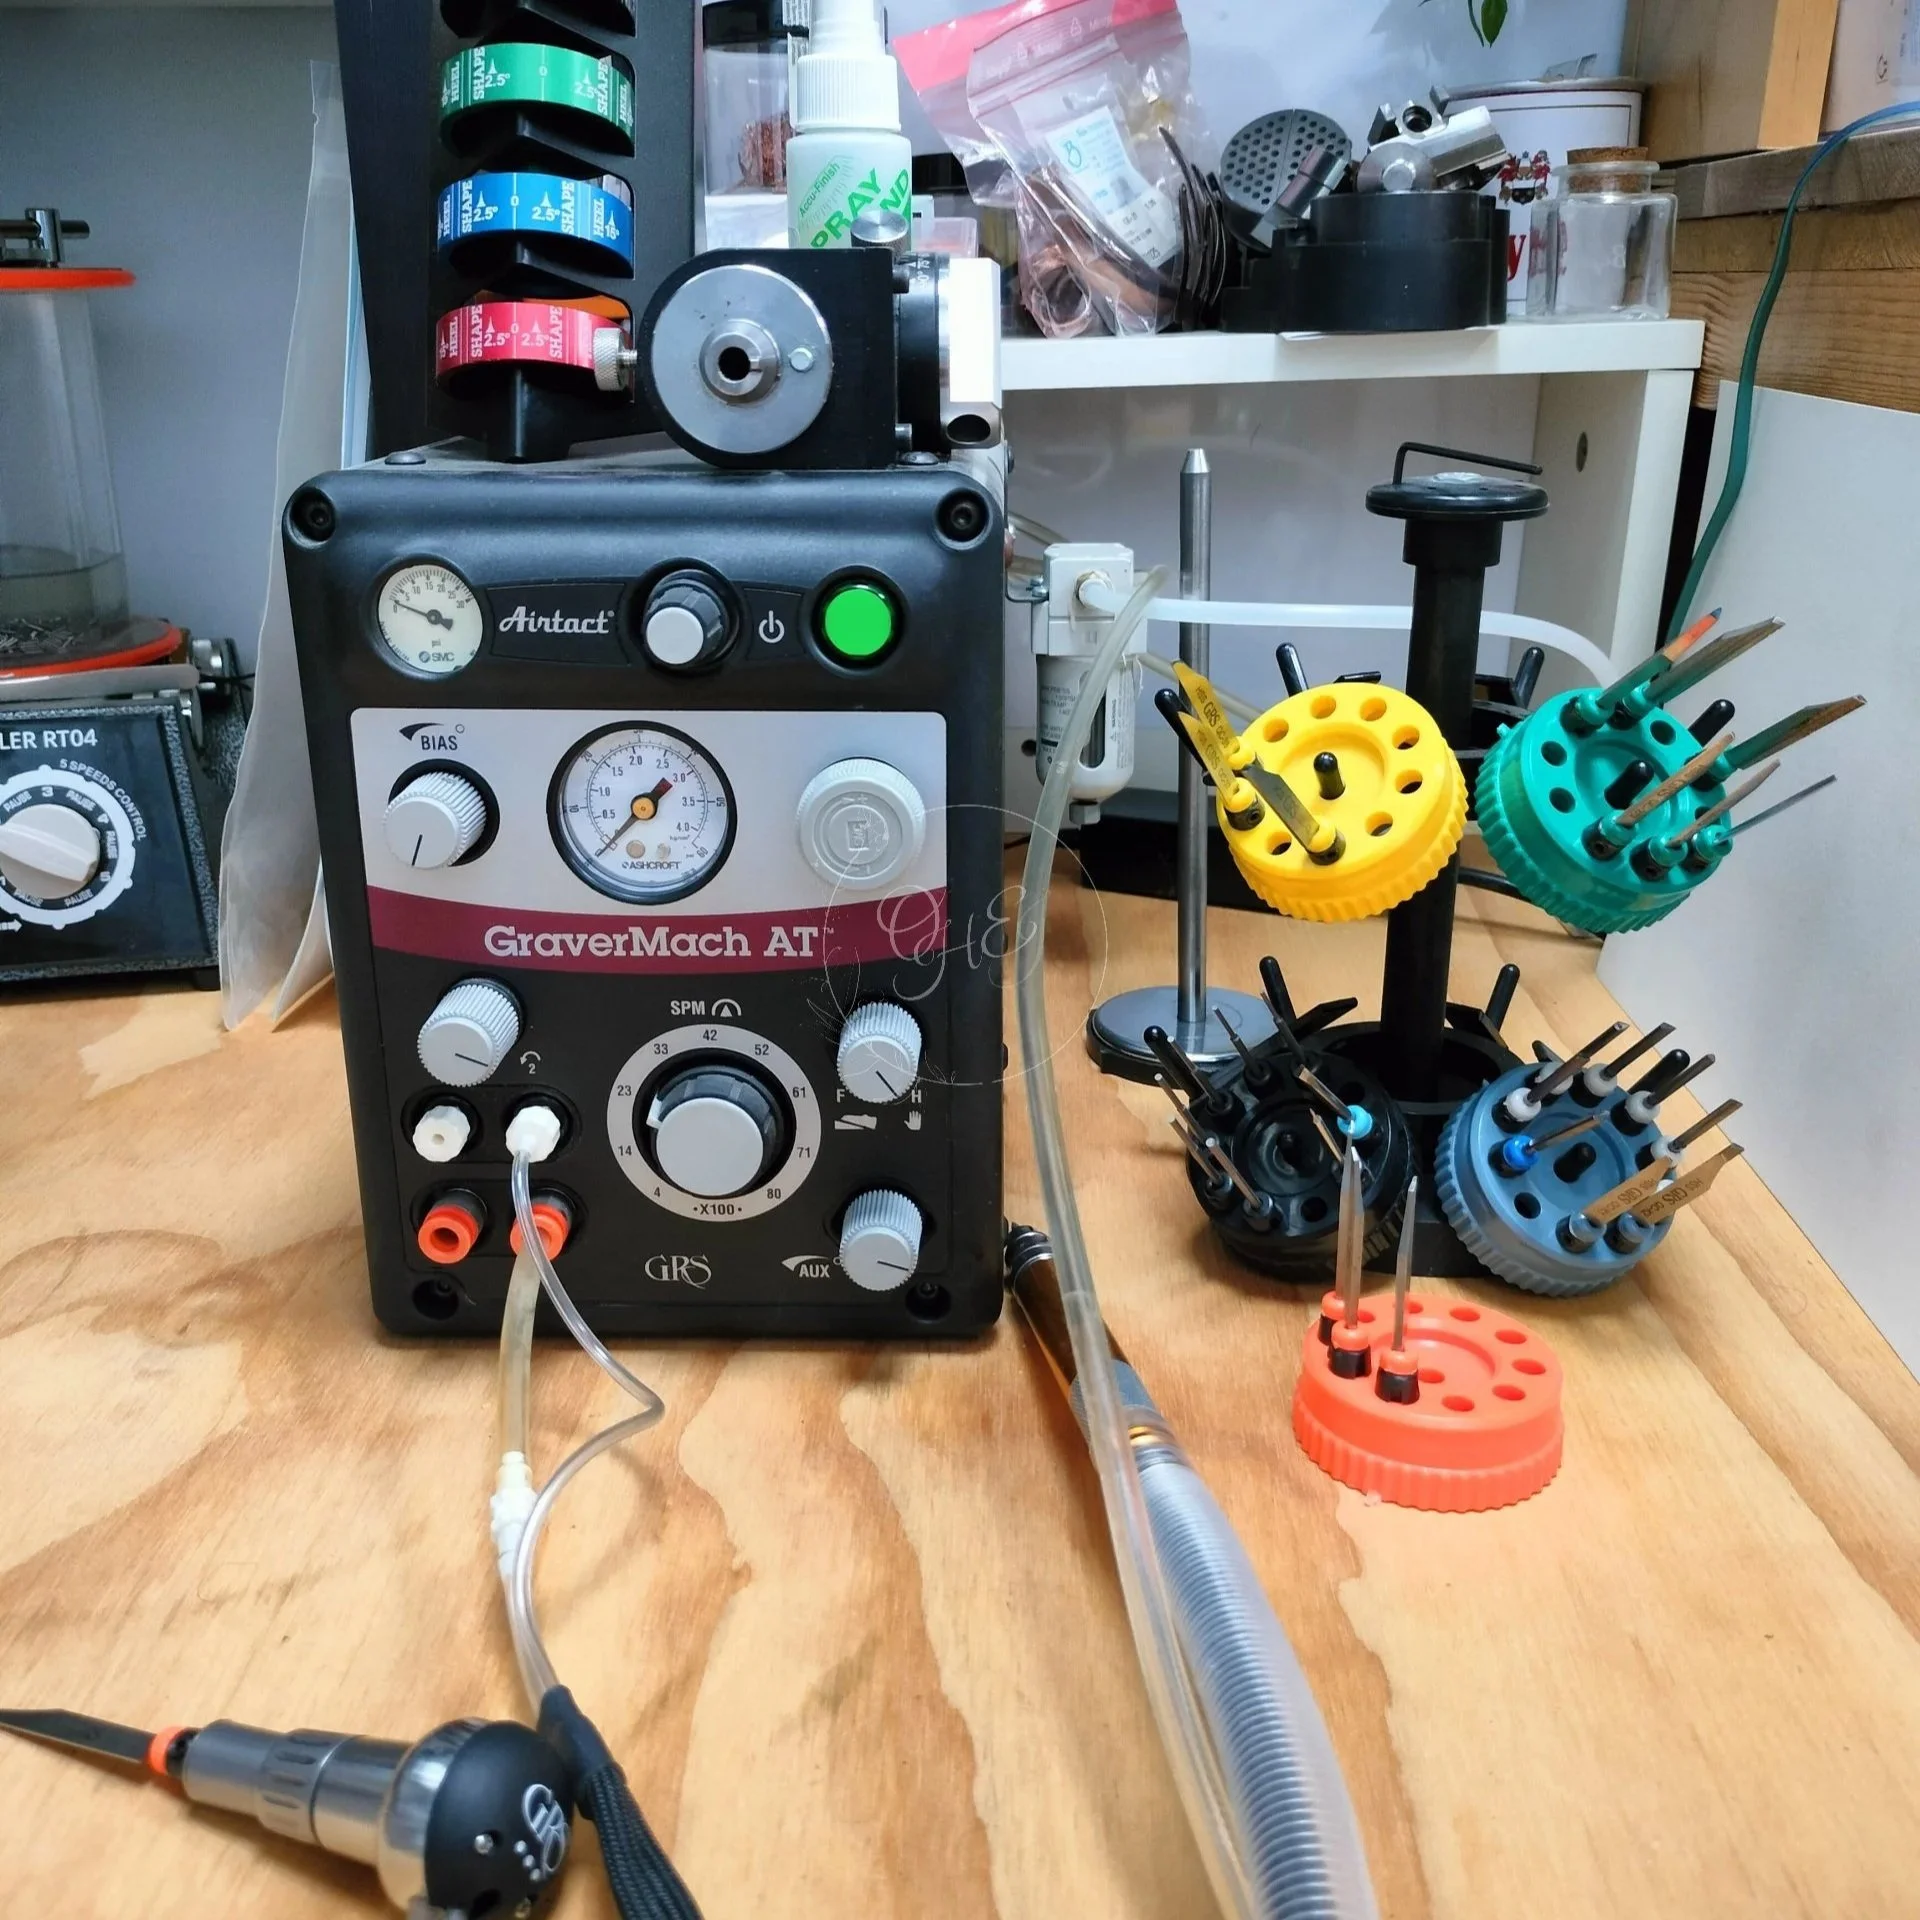
My pneumatic engraver machine from Grs and a bunch af gravers, sharpening tools.
Loops and Microscope
A good view is the most importend of the engraving process. A perfect sharp zoomed view gives the most sharp engraved results.
In the learning proces many use a loop to enlage the object, but for may people it’s hurtfull for neckpositioning. A microsope is a better ergonomic way, and engraving skills will improve much faster.
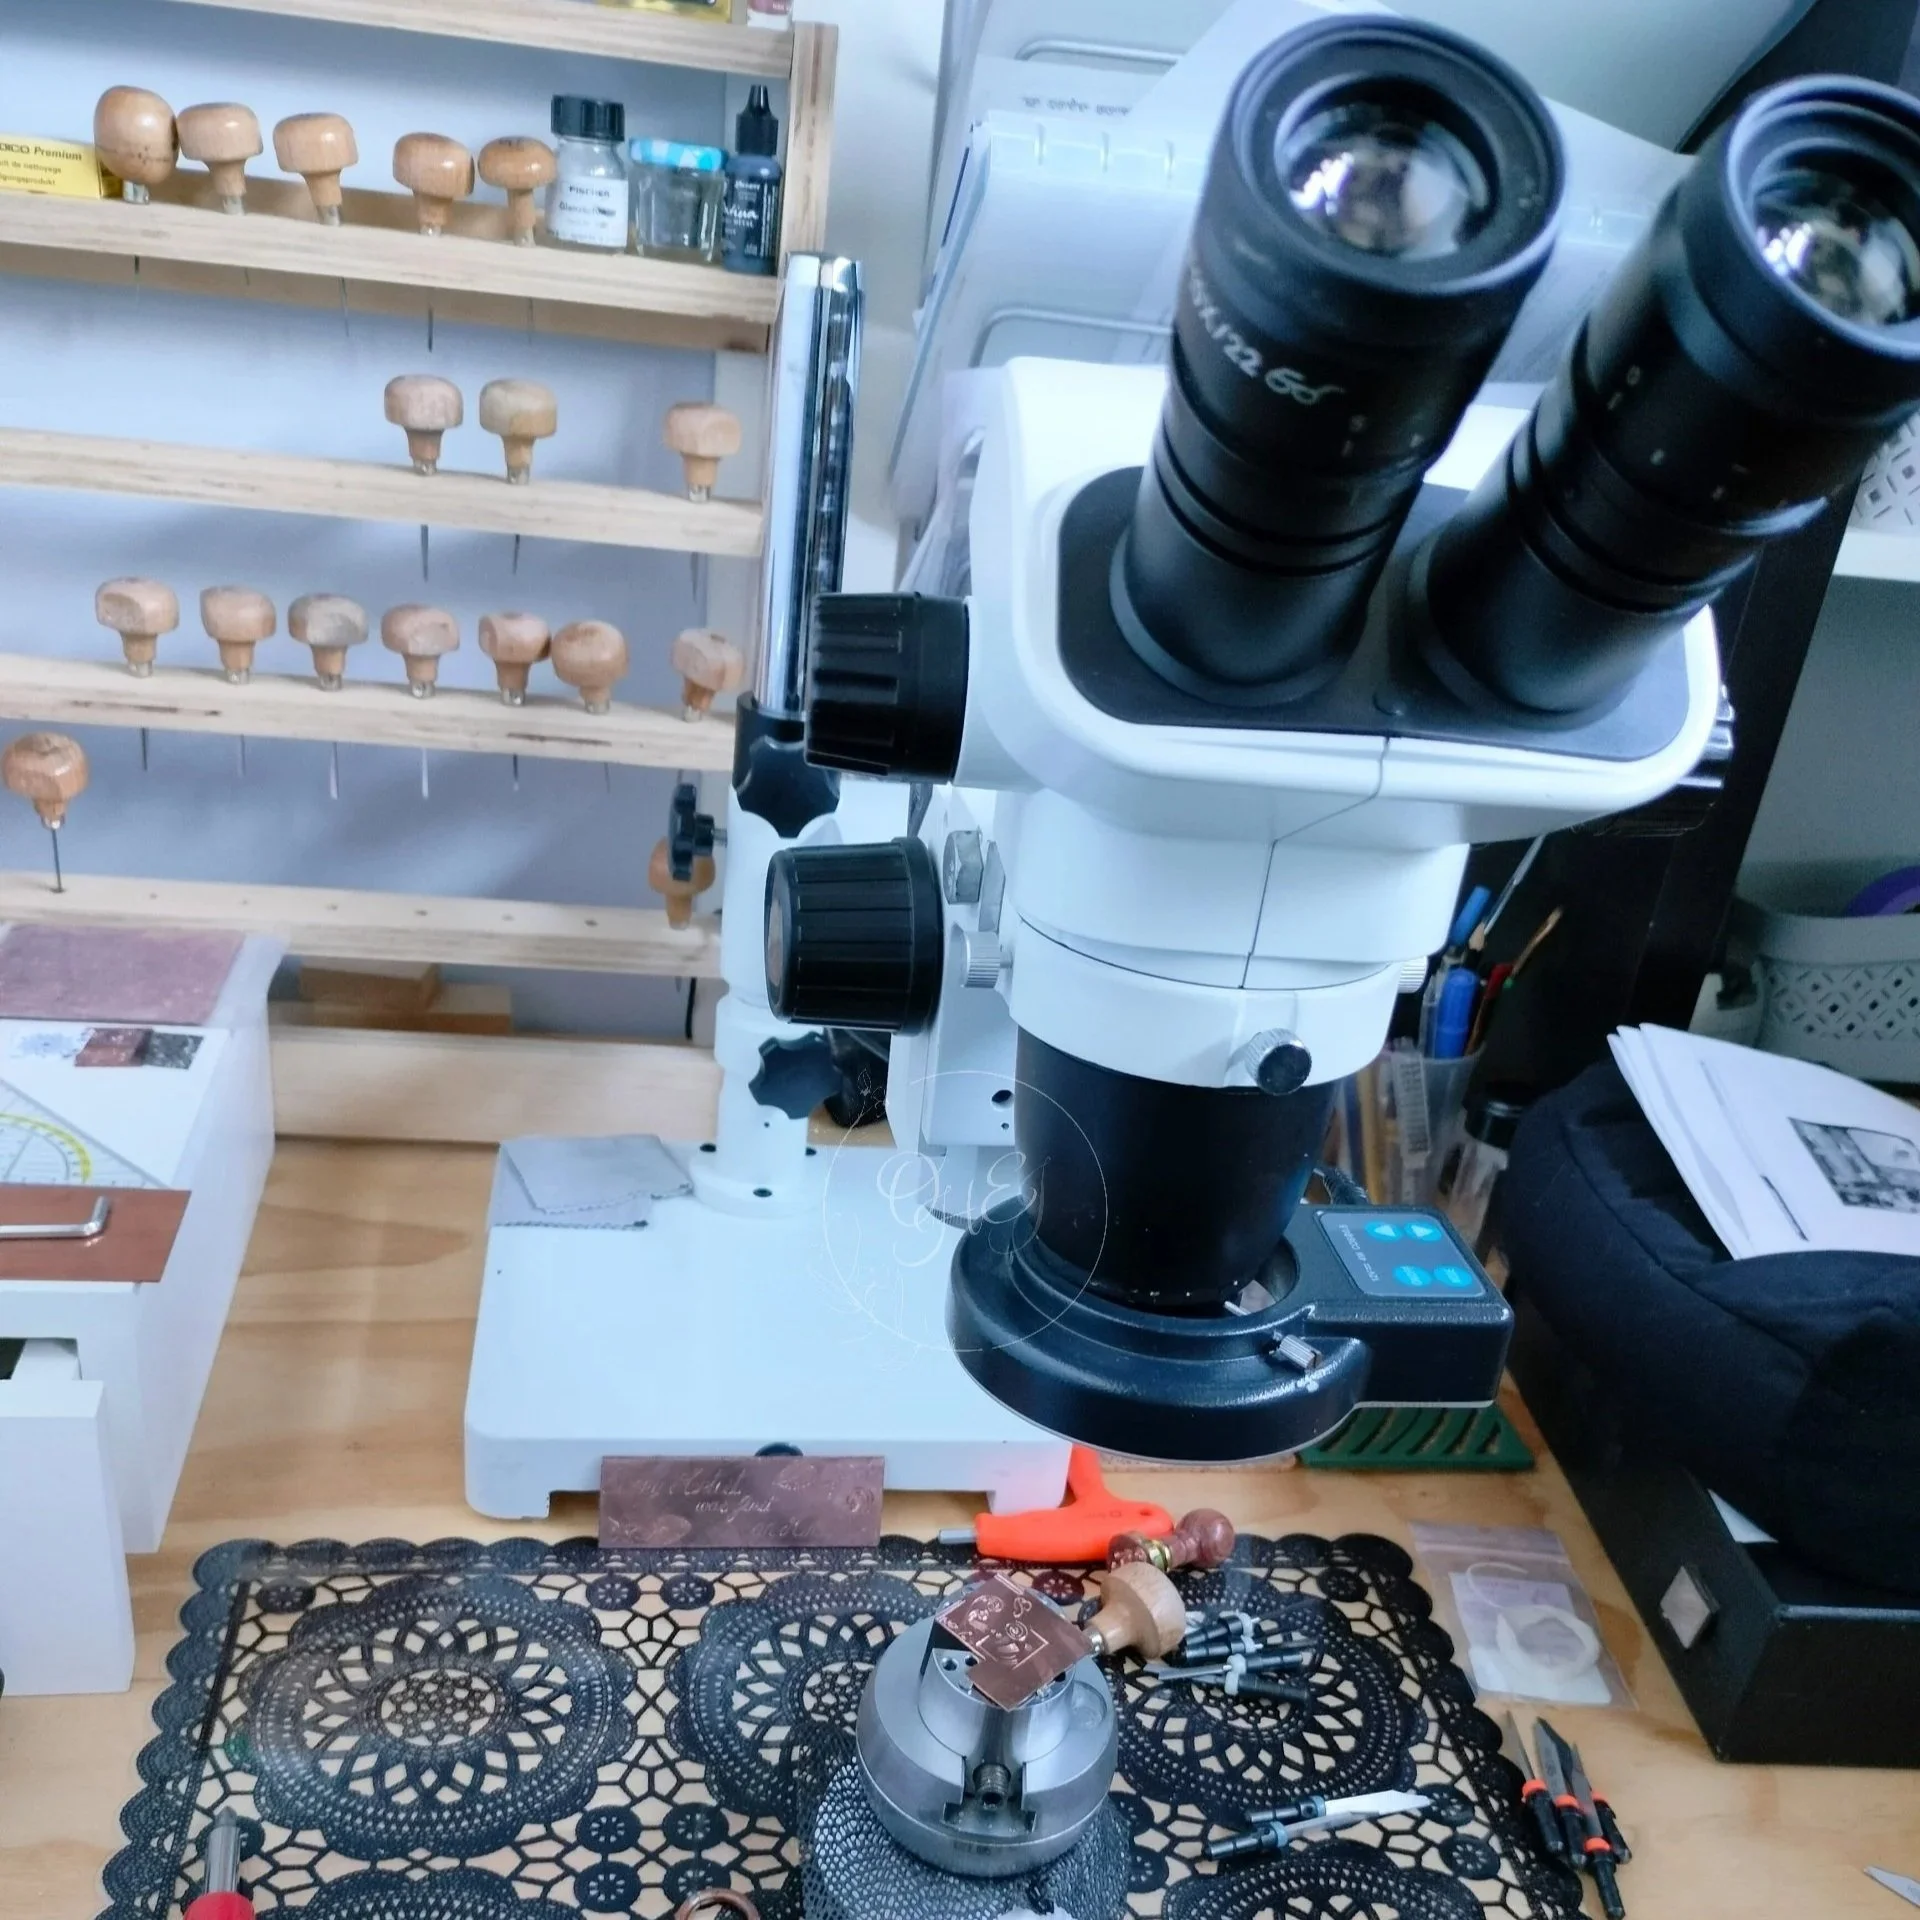
My current microscope used for hand engraving and stonesetting.
A microscope is a must have tool. A budget friedly microscope (mine is a Euromex zoom microscope) is better than a loop, but the expensive ones like a Leica A 60 are the best.